

PureLux Vinyl Flooring Installation: Tips for a Successful Project
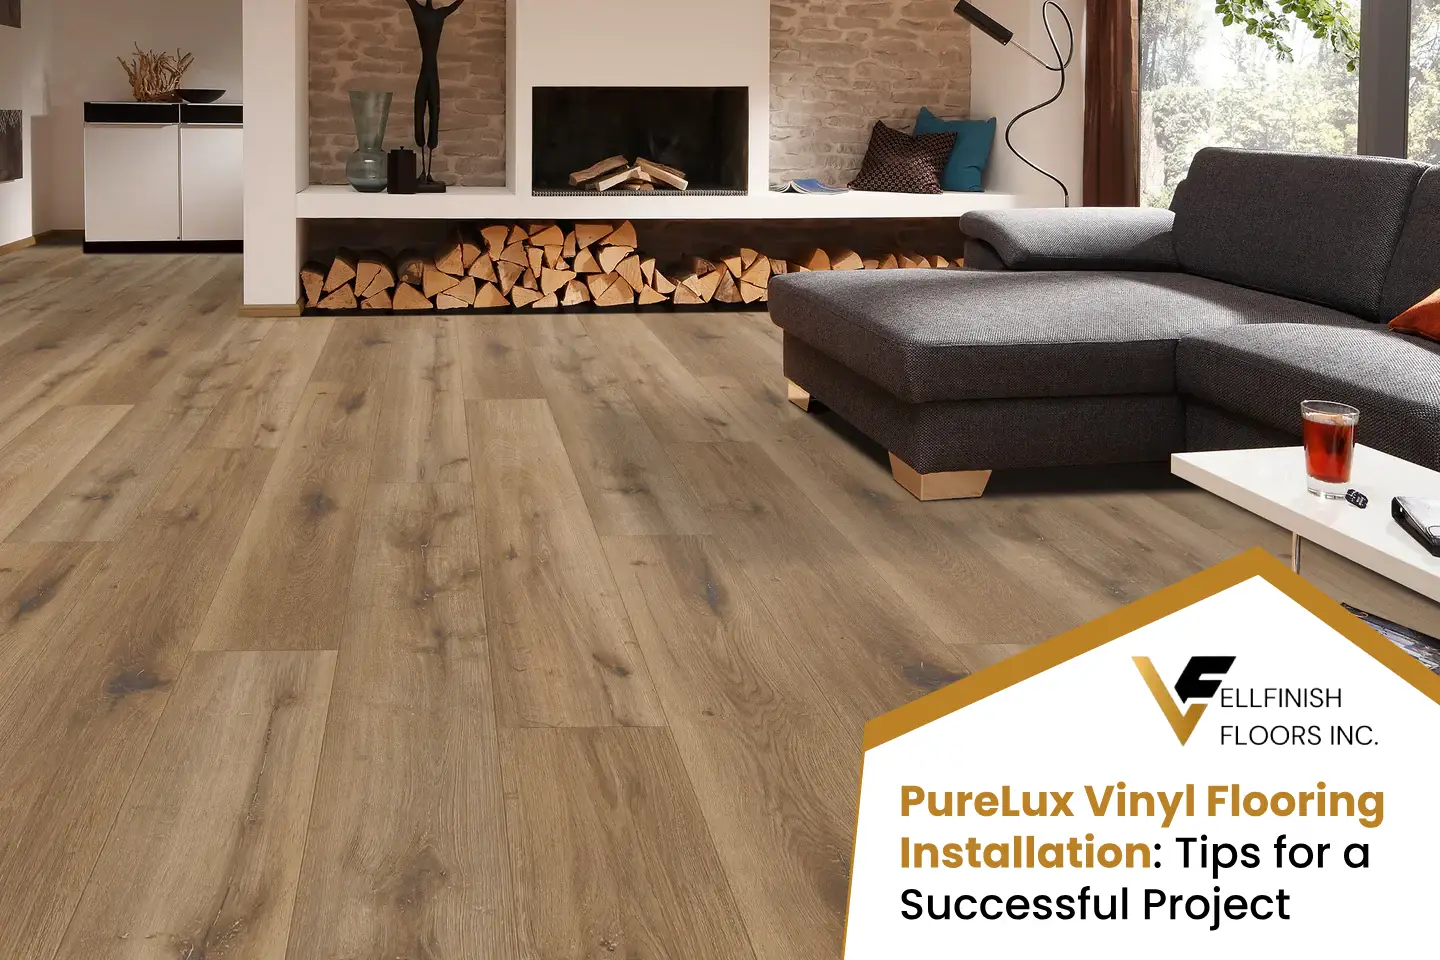
When it comes to having a stunning, strong, and low-maintenance floor, PureLux Vinyl Flooring is one of the most reliable options for homeowners and professionals. With its classy design, water resistance, and simple installation system, this flooring provides the perfect solution for both homes and offices.
Yet even the finest flooring can fail to deliver its full potential if installed poorly. The right preparation, equipment, and technique can be the key to a perfect finish versus a nightmare project.
Here, we will guide you through professional installation techniques for PureLux Vinyl Flooring – making your next flooring project seamless, productive, and a success.
Why PureLux Vinyl Flooring?
Before jumping to installation advice, let’s cover why PureLux Vinyl Flooring is so well-loved.
- Waterproof Construction: Ideal for bathrooms, kitchens, and basements, PureLux vinyl planks are fully waterproof.
- Durability: The multi-layered design of the flooring withstands scratches, dents, and everyday wear and tear.
- Realistic Appearance: From authentic wood and stone finishes, PureLux provides a luxurious look without the hefty upkeep of real materials.
- Comfort and Quiet: Its integrated underlayment ensures underfoot comfort and sound resistance.
- Easy Installation: With a click-lock system, PureLux flooring is meant to be installed DIY-style with no glue or nails.
Now that you’re armed with the knowledge of why it’s such an excellent choice, let’s dive into how to successfully install it.
1. Properly Prepare the Subfloor
An ideal installation starts with an adequately prepared subfloor. Vinyl flooring is resilient, but it does require a clean, even, and level surface in order to function at its peak.
Check for Levelness
- The subfloor must be level within 3/16″ over 10 feet.
- Use a level or straightedge to check for low spots or high areas.
- Fill low areas with a floor-leveling compound and sand down high spots.
Clean Thoroughly
- Clear all old flooring debris, dust, grease, or adhesives.
- Vacuum and sweep several times to thoroughly clean the surface.
Moisture Control
- PureLux Vinyl is water-resistant, but moisture can still play havoc with the subfloor.
- When installing over concrete, install a moisture barrier to ward off possible seepage.
2. Acclimate the Flooring
PureLux Vinyl is dimensionally stable, but acclimation is still a crucial step.
Let the flooring planks acclimate for a minimum of 48 hours in the installation room.
Why It Matters
- This is done to allow the material to acclimate to room temperature and humidity.
- It reduces the chance of expansion or contraction during and after installation.
Maintain the room with a consistent temperature between 18°C and 29°C (65°F–85°F) throughout this duration.
3. Gather the Right Tools
Having the right tools available before starting saves time and frustration.
Here’s a list of must-have tools you’ll require for a PureLux Vinyl Flooring installation:
- Utility knife or vinyl cutter
- Tape measure
- Spacers
- Rubber mallet
- Pull bar
- Tapping block
- Pencil and straightedge
- Level
- Safety glasses and knee pads
These are the basic tools needed for most click-lock installations.
4. Plan the Layout
It is important to plan the layout before laying planks so that you can obtain a balanced, professional look.
Measure the Room
- Measure the width and length of the room to calculate how many rows of planks you’ll need.
- Divide the width of the room by the width of a plank to determine the number of rows.
Avoid Narrow Final Rows
If the last row of planks would be less than two inches wide, cut the first row narrower to balance the layout. This ensures a cleaner look.
Stagger the Joints
- Stagger end joints of planks by at least 6 inches to produce a natural, aesthetically pleasing pattern.
- Don’t repeat the same pattern or seam running together — it can give the floor an artificial look.
5. Begin from the Right Place
It is advisable to begin installing PureLux Vinyl Flooring against the longest wall or the most exposed side of the room. This will make the pattern seem symmetrical and visually balanced.
Use Spacers
- Leave a ¼-inch expansion gap along the edge of the room, including along walls, pipes, and door frames.
- This permits the floor to naturally expand and contract with temperature changes.
6. Carefully Install the First Row
The first row establishes the tone for your whole project. Ensure it’s perfectly straight — or else every row that follows could end up being wonky.
Step-by-Step:
- Install the first plank with the tongue side towards the wall.
- Add spacers between the plank and wall to preserve the expansion gap.
- Assemble other planks by inserting the tongue into the groove and clicking them together.
- Utilize a tapping block and mallet to get a tight fit without hurting the edges.
Verify alignment regularly during this process – a small error here can spread large consequences later.
7. Keep Laying Rows
As soon as your initial row is precisely aligned, keep mounting the subsequent rows.
Stagger Joints
Cut the initial plank of the second row in a manner that the seams will not be aligned with the first row. Staggering produces a more natural, wood-like appearance.
Click-Lock Technique
- Drive the tongue of the plank into the groove of the next plank at an angle of 10–20°.
- Bring it down until it clicks into place.
- Tap lightly with mallet if required to tighten joints.
8. Cutting Around Obstacles
Spaces frequently have doorways, vents, or corners that involve cutting planks to fit.
Utilize Templates
For odd shapes, employ cardboard templates to mark cuts on the vinyl plank.
Next, score and snap the plank with a utility knife for an accurate fit.
Undercut Door Jambs
Rather than cutting planks to go around door frames, undercut the jambs so the flooring glides easily under them for a professional-looking finish.
9. Installing the Last Row
The last row may need trimming to fit properly.
How to Do It
- Measure the distance between the last installed row and the wall.
- Subtract the expansion gap and cut planks to the correct width.
- Use a pull bar to snugly fit the last row into place.
Once complete, remove all spacers and inspect for uniform gaps around the perimeter.
10. Add Finishing Touches
You’ve installed the flooring – now it’s time to finish the look.
Install Baseboards or Quarter Round
Finish expansion gaps with baseboards or quarter-round moulding. Fasten moulding to the wall (not the floor) to provide natural movement.
Transition Strips
Connecting PureLux Vinyl Flooring to another flooring material (such as carpet or tile), use transition strips for an even, polished finish.
11. Post-Installation Care
Although PureLux Vinyl is easy to maintain, a couple of steps will keep your new floor looking great for years.
Wait Before Cleaning
Wait a minimum of 24 hours before heavy foot traffic or damp mopping to allow the floor to settle.
Routine Maintenance
- Regularly sweep or vacuum to clean off dust and grit.
- Use a damp mop and pH-neutral vinyl cleaner as needed.
- Do not use harsh chemicals, waxes, or abrasive scrubbers.
Protect the Surface
- Position felt pads under furniture legs.
- Use entry mats to catch dirt and moisture.
- Do not drag heavy objects across the floor.
12. Common Mistakes to Avoid
Even with a simple click-lock system, mistakes do occur. Some traps to avoid are as follows:
- Missing Acclimation: May result in buckling or gaps down the line.
- Uneven Subfloor: Leads to plank separation or hollow noises.
- Lack of Expansion Gap: Makes the floor rise when it expands.
- Missing Staggering Seams: Gives the floor an artificial appearance.
- Using Incorrect Tools: Cracks edges or click-lock joints.
Steering clear of these errors makes your PureLux Vinyl Flooring perform as well as it looks.
13. Advantages of Professional Installation
Although DIY is feasible, professionals can spare time and guarantee perfection.
Benefits
- Experience: Professionals know challenging layouts and intricate cuts.
- Speed: They install faster without sacrificing quality.
- Warranty Protection: Warranty may be applicable only when installed by qualified installers.
- Peace of Mind: No worry over alignment, transitions, or concealed moisture problems.
Conclusion
Installing PureLux Vinyl Flooring is one of the most effective ways to upgrade your space with sophistication, longevity, and contemporary style. With its water-resistant core, realistic visuals, and click-lock construction, it’s a perfect flooring choice for any room – from living spaces to bathrooms.
By adhering to the correct installation process – making the subfloor ready, acclimating planks, preserving expansion gaps, and finishing with attention to detail – you can achieve a blemish-free, long-lasting finish.
Whether you’re a DIY enthusiast or working with a professional installer, a well-planned PureLux Vinyl Flooring installation guarantees both beauty and performance that will last for years.