

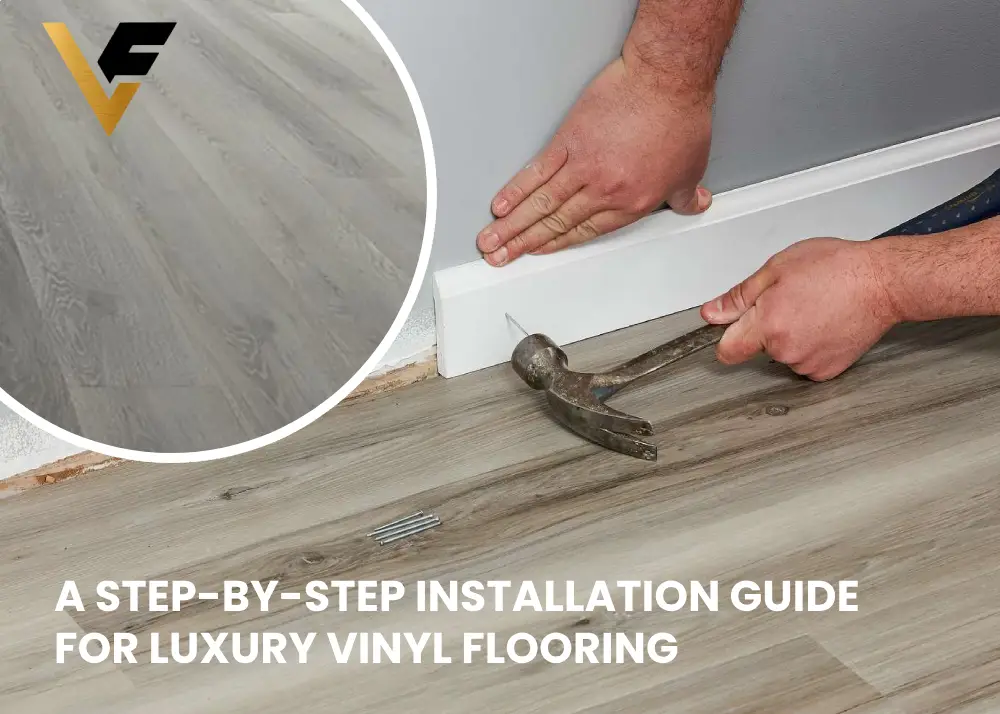
A Step-by-Step Installation Guide for Luxury Vinyl Flooring
Luxury vinyl flooring (LVF) has become a popular choice among homeowners due to its durability, water resistance, and realistic appearance that mimics natural wood, stone, or tile. It’s also relatively easy to install, making it a great option for DIY enthusiasts. This comprehensive step-by-step guide will walk you through the process of installing luxury vinyl flooring in your home, ensuring professional-looking results.
1. Preparing for Installation
Gathering Tools and Materials
Before you begin, make sure you have all the necessary tools and materials. Here’s a list to get you started:
- Luxury vinyl planks or tiles
- Underlayment (if required)
- Tape measure
- Utility knife
- Straightedge or T-square
- Spacers
- Pry bar
- Rubber mallet
- Level
- Floor roller
- Cleaning supplies (broom, vacuum, mop)
- Safety gear (gloves, knee pads, safety glasses)
Acclimating the Flooring
Luxury vinyl flooring needs to acclimate to the room’s temperature and humidity to prevent expansion or contraction after installation. Place the unopened boxes of flooring in the room where they will be installed and leave them for 48 hours.
Preparing the Subfloor
The subfloor must be clean, dry, level, and free of any debris. Sweep and vacuum the area thoroughly. Use a level to check for any uneven spots; any dips or bumps greater than 1/8 inch over a 6-foot span should be leveled using a floor leveling compound. Remove any baseboards or trim carefully with a pry bar.
2. Choosing an Installation Method
Luxury vinyl flooring can be installed using several methods, including floating, glue-down, and peel-and-stick. The floating method, where planks click together without being adhered to the subfloor, is the most popular due to its ease and flexibility.
3. Laying the Underlayment
Floating Floor Underlayment
If your LVF requires an underlayment, roll it out across the subfloor. Ensure the underlayment is smooth and free of wrinkles. Cut it to size using a utility knife, and tape the seams together with underlayment tape. Some luxury vinyl planks come with an attached underlayment, so this step may not be necessary.
Moisture Barrier
If installing over concrete, consider a moisture barrier to prevent potential moisture damage. This can often be combined with the underlayment if it isn’t already integrated.
4. Installing the First Row
Planning the Layout
Plan your layout before you start installing. Measure the width of the room and divide by the width of a vinyl plank to determine how many rows you will need. Adjust your plan to ensure the last row is at least half the width of a plank to avoid having narrow strips at the edges.
Starting the First Row
Start in a corner of the room, laying planks parallel to the longest wall. Use spacers to maintain a 1/4 inch gap between the planks and the wall to allow for expansion. Cut the tongue side of the plank if necessary to fit against the wall.
Connecting the Planks
Align the tongue of the first plank with the groove of the second plank at a slight angle and click them together. Continue this process along the entire row. Use a rubber mallet to gently tap the planks together if needed, ensuring a tight fit.
5. Installing Subsequent Rows
Staggering the Seams
To achieve a natural look and provide structural stability, stagger the seams by at least 6 inches. Cut the first plank of the second row to about half its length or use the leftover piece from the previous row.
Clicking the Planks Together
Insert the tongue of the plank into the groove of the plank in the previous row at an angle and lower it into place. Tap it gently with a rubber mallet to secure the fit. Continue this process, ensuring each plank is tightly connected to its neighbors.
Fitting Around Obstacles
When you encounter doorways, vents, or other obstacles, measure and cut the planks accordingly. Use a utility knife or jigsaw to make precise cuts. For irregular shapes, make a template using paper or cardboard before transferring the measurements to the plank.
6. Finishing Touches
Installing the Last Row
Measure the width needed for the last row, accounting for the 1/4 inch expansion gap. Cut the planks lengthwise to fit. Use a pull bar to secure the final row in place, ensuring a tight fit.
Reinstalling Trim and Moldings
Once all the planks are in place, remove the spacers and reinstall the baseboards, trim, and transition strips. These will cover the expansion gaps and give your flooring a finished look.
Rolling the Floor
Use a floor roller to ensure the planks are fully adhered and any air bubbles are removed. This step is especially important for glue-down installations but can also be beneficial for floating floors.
7. Maintenance Tips
Cleaning
Luxury vinyl flooring is low-maintenance but still requires regular cleaning to keep it looking new. Sweep or vacuum regularly to remove dust and debris. Mop with a damp mop and a mild cleaner specifically designed for vinyl flooring. Avoid using abrasive cleaners or excessive water, which can damage the floor.
Preventive Measures
Use furniture pads under the legs of chairs and tables to prevent scratches. Place mats at entryways to catch dirt and moisture. Avoid dragging heavy furniture across the floor to prevent damage.
Repairing Minor Damage
Minor scratches and scuffs can often be repaired with a vinyl floor repair kit. For more significant damage, individual planks can be replaced. Follow the manufacturer’s instructions for replacing damaged planks to maintain the integrity of the floor.
8. Common Mistakes to Avoid
Skipping Acclimation
Failing to acclimate the planks to the room’s conditions can lead to expansion or contraction issues after installation. Always allow the flooring to acclimate for at least 48 hours.
Improper Subfloor Preparation
A clean, dry, and level subfloor is crucial for a successful installation. Skipping this step can result in uneven floors and potential damage to the planks.
Incorrect Spacing
Maintaining a consistent expansion gap around the perimeter of the room is essential to allow for natural movement of the floor. Use spacers and double-check measurements to ensure proper spacing.
Using the Wrong Adhesives
If using a glue-down method, make sure to use adhesives recommended by the flooring manufacturer. The wrong adhesive can cause the planks to lift or shift over time.
9. Troubleshooting Common Issues
Gaps Between Planks
If you notice gaps forming between planks, it could be due to improper installation or insufficient acclimation. Ensure planks are clicked together securely and check that the subfloor is level. For floating floors, you can usually reconnect the planks by tapping them back into place.
Buckling or Warping
Buckling or warping can occur if the flooring is exposed to excessive moisture or if there’s insufficient room for expansion. Ensure your subfloor is dry and maintain proper humidity levels in the room. Make sure the expansion gap is adequate and not obstructed by trim or baseboards.
Peeling or Lifting
If planks are peeling or lifting, it may be due to inadequate adhesive or improper installation. For glue-down floors, ensure you’re using the correct adhesive and applying it evenly. For floating floors, check that planks are properly connected and lying flat.
10. Conclusion
Installing luxury vinyl flooring can be a rewarding DIY project that significantly enhances the beauty and functionality of your home. By following this step-by-step guide, you can achieve professional-looking results and enjoy the many benefits of luxury vinyl flooring for years to come. Remember to prepare your subfloor properly, choose the right installation method, and take your time to ensure each plank is perfectly aligned. With a little patience and attention to detail, you’ll have a stunning new floor that you can be proud of.