
Basement Flooring Guide: Best Options & Installation Tips for Concrete Floors

Basements are often the most underutilized spaces in a home, yet they hold incredible potential. Whether you envision a cozy family lounge, a modern home gym, a guest bedroom, or a stylish entertainment area, your basement can be transformed into a functional and inviting space with the right design choices. One of the most important elements in this transformation is selecting the perfect flooring—especially when you’re working with a concrete base.
Concrete basement floors present unique challenges, including moisture, temperature fluctuations, and uneven surfaces. That’s why choosing the right flooring material and installing it properly is essential for long-term durability and comfort.
In this comprehensive guide, we’ll walk you through the best flooring options for concrete basements and provide step-by-step instructions to help you install laminate flooring like a pro.
Why Basement Flooring Matters
Unlike upper-level rooms, basements are more susceptible to moisture, humidity, and temperature changes. These factors can impact not only the look of your flooring but also its lifespan. Poor flooring choices can lead to warping, mold growth, and costly repairs.
That’s why it’s important to select flooring that is:
- Moisture-resistant or waterproof
- Durable and long-lasting
- Comfortable underfoot
- Easy to maintain
- Suitable for concrete subfloors
What Type of Flooring Works Best on Concrete?
When it comes to balancing affordability, style, and performance, laminate flooring stands out as one of the most popular options for basement spaces. It offers a great combination of durability, visual appeal, and ease of installation.
Laminate flooring is designed to resist scratches and wear, making it ideal for high-traffic areas. It also comes in a wide range of designs, including realistic wood and stone finishes, allowing you to achieve the look you want without the high cost of natural materials. Its click-lock installation system makes it especially attractive for DIY enthusiasts.
However, laminate is just one of several great options. Let’s explore other flooring materials that work well on concrete basement floors.
Top Basement Flooring Options

1. Luxury Vinyl Plank (LVP)
Luxury Vinyl Plank has become one of the most preferred flooring choices for basements—and for good reason.
Key Benefits:
- 100% waterproof
- Highly durable and scratch-resistant
- Realistic wood and stone appearance
- Easy DIY installation
LVP is ideal for basements because it can handle moisture without warping or swelling. It’s perfect for areas where spills or dampness might occur, such as laundry rooms or entertainment spaces.
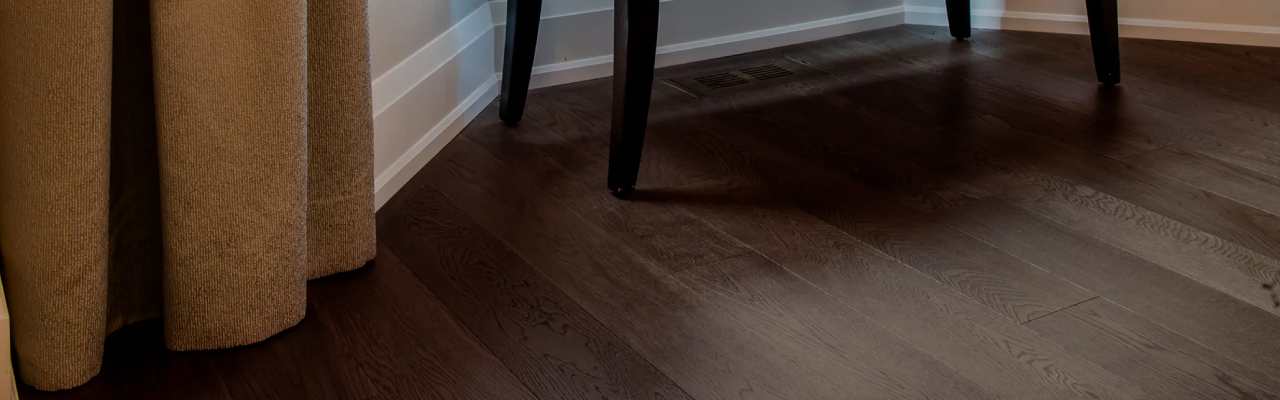
2. Engineered Hardwood
If you love the natural beauty of wood, engineered hardwood can be a suitable option—but only under the right conditions.
Key Benefits:
- Authentic wood look and feel
- More stable than solid hardwood
- Adds warmth and elegance
Important Note: Engineered hardwood should only be installed in moisture-controlled basements. If your basement has high humidity or water issues, avoid wood-based flooring entirely, as it can expand, contract, or warp over time.
3. Sheet Vinyl
Sheet vinyl is one of the most practical and cost-effective flooring options for basements.
Key Benefits:
- Seamless installation reduces water penetration
- Highly moisture-resistant
- Budget-friendly
- Easy to clean and maintain
Because it comes in large sheets, there are fewer seams where water can seep through. This makes it an excellent choice for large basement areas.
4. Carpet
Carpet remains a classic choice for homeowners who want to create a warm and cozy basement environment.
Key Benefits:
- Soft and comfortable underfoot
- Great for insulation and noise reduction
- Ideal for family rooms and bedrooms
To get the best results, choose moisture-resistant carpet padding and ensure proper subfloor preparation to prevent mold or mildew.
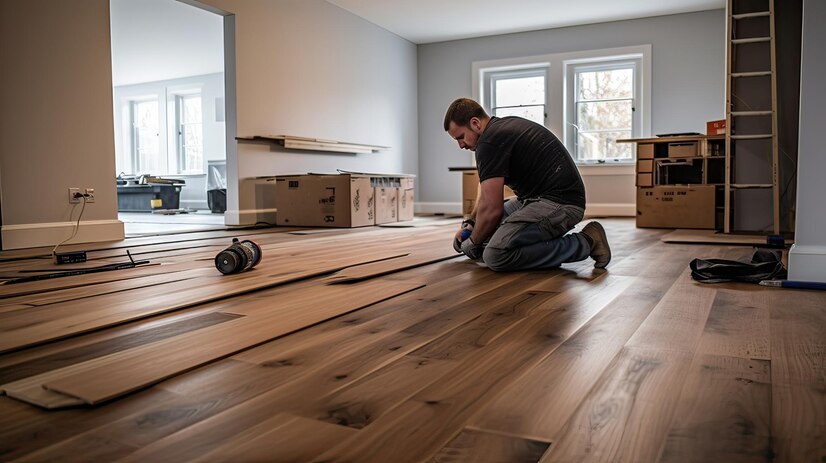
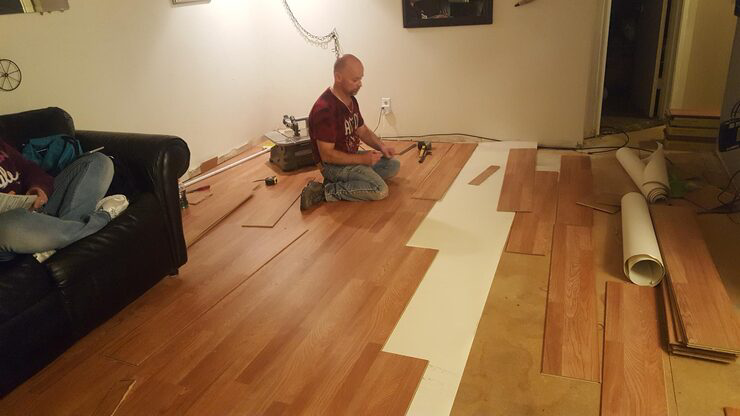
Step-by-Step Guide: Installing Laminate Flooring on a Concrete Basement Floor
Installing laminate flooring in your basement can be a rewarding DIY project if done correctly. Follow these steps to ensure a professional-looking and long-lasting result.
Step 1: Prepare the Concrete Surface
Before installing any flooring, your concrete surface must be clean, dry, and level.
- Remove all dust, dirt, and debris using a vacuum or broom
- Fill cracks, holes, or uneven areas with a concrete patching compound
- Allow the surface to fully dry before proceeding
Pro Tip:
Conduct a moisture test by taping a plastic sheet to the floor for 24–48 hours. If condensation forms underneath, you’ll need to address moisture issues before installation.
Step 2: Install a Moisture Barrier
A moisture barrier is essential when installing laminate over concrete.
- Use a 6-mil polyethylene vapor barrier
- Lay it flat across the floor
- Overlap seams by at least 8 inches
- Seal seams with waterproof tape
This layer prevents moisture from seeping into your flooring and causing damage.
Step 3: Add Underlayment
If your laminate flooring doesn’t include pre-attached underlayment, you’ll need to install one.
Benefits of underlayment:
- Improves comfort underfoot
- Reduces noise
- Adds an extra layer of moisture protection
Roll out the underlayment evenly across the floor, ensuring there are no gaps or overlaps.
Step 4: Acclimate Your Flooring
Before installation, allow your laminate planks to adjust to the basement environment.
- Leave the flooring in the room for at least 48 hours
- Keep the temperature and humidity consistent
This step helps prevent expansion or contraction after installation.
Step 5: Plan Your Layout
Proper planning ensures a balanced and visually appealing result.
- Measure the room dimensions
- Arrange planks in a dry layout
- Avoid ending with narrow strips along walls
- Trim the first row if necessary
Taking time to plan your layout will save you from unnecessary adjustments later.
Step 6: Begin Installation
Now it’s time to install your flooring.
- Start along the longest wall
- Use spacers to maintain a 1/4-inch expansion gap
- Snap planks together using the click-lock system
- Stagger joints for a natural look
Work row by row, ensuring each plank is securely locked in place.
Step 7: Finish with Trim and Baseboards
Once the flooring is installed:
- Remove spacers
- Install baseboards or quarter-round trim
- Cover expansion gaps neatly
Important: Never nail or screw directly into the laminate flooring. Always attach trim to the wall.
Common Mistakes to Avoid
To ensure a successful installation, avoid these common pitfalls:
- Skipping the moisture barrier
- Installing over uneven concrete
- Ignoring acclimation time
- Not leaving expansion gaps
- Using hardwood in damp basements
Avoiding these mistakes will help extend the life of your flooring.
Expert Tips for Basement Flooring Success
- Keep your basement well-ventilated during and after installation
- Use a dehumidifier if moisture levels are high
- Choose waterproof or moisture-resistant materials
- Clean spills immediately to prevent damage
- Consider professional installation for complex layouts
When to Hire Professionals
While DIY installation can save money, some situations call for expert help:
- Uneven or damaged concrete floors
- Persistent moisture issues
- Large or complex basement layouts
- Time constraints
Professional installers ensure precision, efficiency, and long-lasting results.

Final Thoughts
Transforming your basement starts with choosing the right flooring. Whether you opt for laminate, luxury vinyl, engineered hardwood, sheet vinyl, or carpet, each option offers unique benefits depending on your needs and environment.
Laminate flooring remains a top choice for its affordability, style, and ease of installation. However, moisture conditions should always guide your decision.
With proper preparation, the right materials, and careful installation, your basement can become one of the most comfortable and stylish spaces in your home.