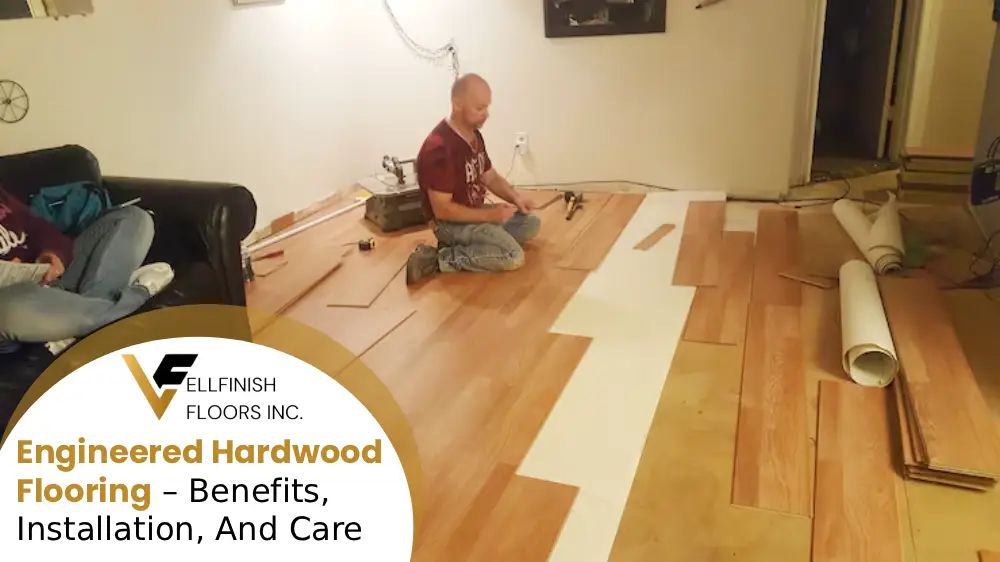

Engineered Hardwood Installation in Canada: Everything You Need to Know

Engineered hardwood flooring is also a leading option for Canadian homeowners who wish to bring warmth, beauty, and durability into their homes. Due to its layering construction and higher stability, engineered hardwood far outperforms solid hardwood under Canada’s varied and oftentimes extreme climate conditions. However, prior to planning for installation, it is important to know what makes engineered hardwood so different and how to properly install it to ensure success in the long run.
In this comprehensive guide, we’ll explore:
- What engineered hardwood is
- Why it’s ideal for Canadian climates
- Types of subfloors and preparation
- Installation methods (nail, glue, float)
- Step-by-step installation process
- Common mistakes to avoid
- DIY vs. professional installation
- Post-installation care
Let’s begin!
What Is Engineered Hardwood?
Engineered hardwood consists of numerous layers of wood, with a veneer of actual hardwood on top and a number of core layers (most commonly plywood or high-density fiberboard) underneath. The layers are stacked in a crisscrossed pattern, which assists in minimizing expansion and contraction due to moisture and temperature changes—perfect for Canadian homes.
Top Benefits:
- True wood appearance
- Increased resistance to humidity
- Suitable for underfloor heating
- Suitable for installation in basements and condos
Why Engineered Hardwood Is Perfect for Canada
Canada has experienced extreme seasonal swings, from warm summers to frigid winters. Such variations can play havoc with solid hardwood flooring, causing warping, cupping, or gapping. Engineered hardwood’s multi-layer design allows it to remain more durable through these temperature extremes.
Other Canadian benefits:
- Functions well with radiant heating systems, common in cold climates
- Certified Canadian installation of engineered hardwoods is approved for installation in condos with concrete subfloors
- Ideal for humid cities such as Toronto and Vancouver
Subfloors in Canadian Residences
Prior to the installation of engineered hardwood, it is important to determine the subfloor type. Some popular subfloors used in Canada are:
1. Plywood or OSB (Oriented Strand Board)
- Installed in most new constructions and older homes
- Ideal for all types of installations (nail, staple, glue, or float)
2. Concrete
- Typical of basements, condos, and some new constructions
- Moisture testing is required
- Ideal combined with floating or glue-down installations
3. Pre-existing Floors (Vinyl, Laminate, Tile)
- Some engineered hardwoods can be floated over existing floors
- Need to be flat, dry, and in good condition
Pre-Installation Checklist
To avoid any issues with the installation, follow these preparatory steps:
- Acclimate the flooring: Allow the planks to sit in the room for a minimum of 48–72 hours.
- Inspect the subfloor: Make sure it’s clean, level, and dry.
- Check moisture levels: Subfloor and engineered hardwood must be within the manufacturer-specified moisture range.
- Assemble tools: Saw, moisture meter, underlayment (if floating), spacers, and fasteners.
Engineered Hardwood Installation Methods
There are three main installation methods for engineered hardwood. The type you use depends on the subfloor, manufacturer instructions, and your level of DIY comfort.
1. Floating Installation
- Ideal for: Concrete subfloors, condos, DIYers
- Planks are joined with a tongue-and-groove or click-lock system.
- Underlayment with soundproofing and moisture barrier is commonly employed.
- No nails or adhesive needed.
Advantages: Easy to install and demount
Cons: Marginally hollow sound if not adequately padded
2. Glue-Down Installation
- Recommended for: Concrete or plywood subfloors
- Adhesive is applied to the subfloor prior to laying planks.
- Pros: Solid and stable underfoot
Cons: Needs experience, more difficult to replace damaged boards
3. Nail or Staple Installation
- Recommended for: Plywood or OSB subfloors
- Nails or staples are applied to fix boards on the tongue edge.
- Pros: Long-lasting and secure
Cons: Noisy installation process; not for use over concrete
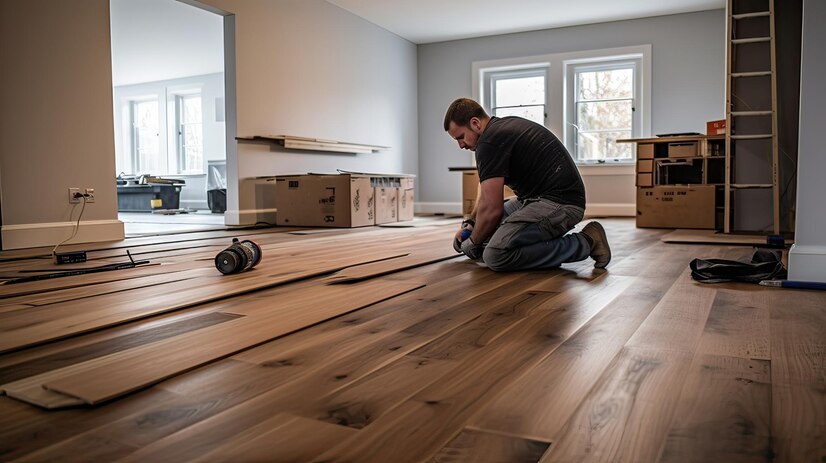
Step-by-Step Process of Floating Installation (Most Prevalent in Canada)
Step 1: Acclimatize the Flooring
Leave unopened boxes of engineered hardwood in the installation space for 2–3 days.
Step 2: Prepare Subfloor
Thoroughly clean. Subfloor must be level within 3/16″ over 10 feet.
Step 3: Install Underlayment
If your floor lacks built-in underlayment, roll out foam or cork underlay. Seal seams with tape.
Step 4: Plan Your Layout
Begin with the longest wall, ideally the most visible from the entrance. Work with spacers to keep a 1/4″ expansion gap along walls.
Step 5: Install First Row
Join planks end-to-end using tongue-and-groove or click-lock system. Trim the last piece to fit.
Step 6: Stagger the Planks
Start second row using a shorter plank to stagger seams. Keep at least 6″ between end joints.
Step 7: Continue Installation
Work row by row, clicking planks together. Use a tapping block if needed.
Step 8: Last Row and Final Touches
Rip the final row to fit, take out spacers, and put on baseboards or quarter round.
Common Mistakes to Avoid
❌ Not Acclimating
Installing boards without acclimating can result in gapping or buckling.
❌ Failure to Level the Subfloor
Even small dips or high areas can lead to uneven wear or squeaking.
❌ Disregarding Expansion Gaps
Engineered hardwood still expands and contracts. Tight installations may buckle over time.
❌ Using Wrong Adhesives
Only use recommended adhesives for glue-down installations to prevent damage.
❌ Mixing Batches Without Checking
Always blend planks from different boxes to avoid color variation.
DIY vs. Professional Installation in Canada
✅ DIY Installation
If you’re handy and confident with tools, a floating floor can be a rewarding weekend project. It’s cost-effective and flexible. However, mistakes can be costly.
Good For:
- Budget-friendly homeowners
- Simple floor plans
- Click-lock engineered wood
✅ Professional Installation
Employing a professional guarantees proper preparation, moisture testing, and smooth execution. Professionals also finish transitions, stairs, and trims to perfection.
Good For:
- Glue-down or nail-down installation
- Large or intricate floor plans
- Condos with strict noise regulations
- Estimated Cost in Canada (2025):
- DIY materials only: $3.50 – $6.50/sq ft
- Professional install: $2.50 – $5.00/sq ft labor and materials
Post-Installation Tips and Care
- For your investment protection, adhere to these maintenance guidelines:
- Use felt pads on furniture legs
- Avoid wet mops—use a damp microfiber cloth
- Place rugs at entryways to trap dirt
- Maintain constant indoor humidity (35–55%) using humidifiers or dehumidifiers
Refinish top layer if it’s thick enough and shows wear (usually 2mm+)
Engineered hardwood provides the ideal blend of looks, durability, and climate flexibility—particularly in Canada, where weather can be a significant issue. Whether you’re renovating your house in Montreal, remodelling a condo in Vancouver, or completing a basement in Calgary, engineered hardwood is up to the task.
From choosing the proper planks to selecting the best installation technique, staying educated is crucial. And whether you do it yourself or hire in the experts, effective planning guarantees your engineered hardwood floor is beautiful and will survive for decades.