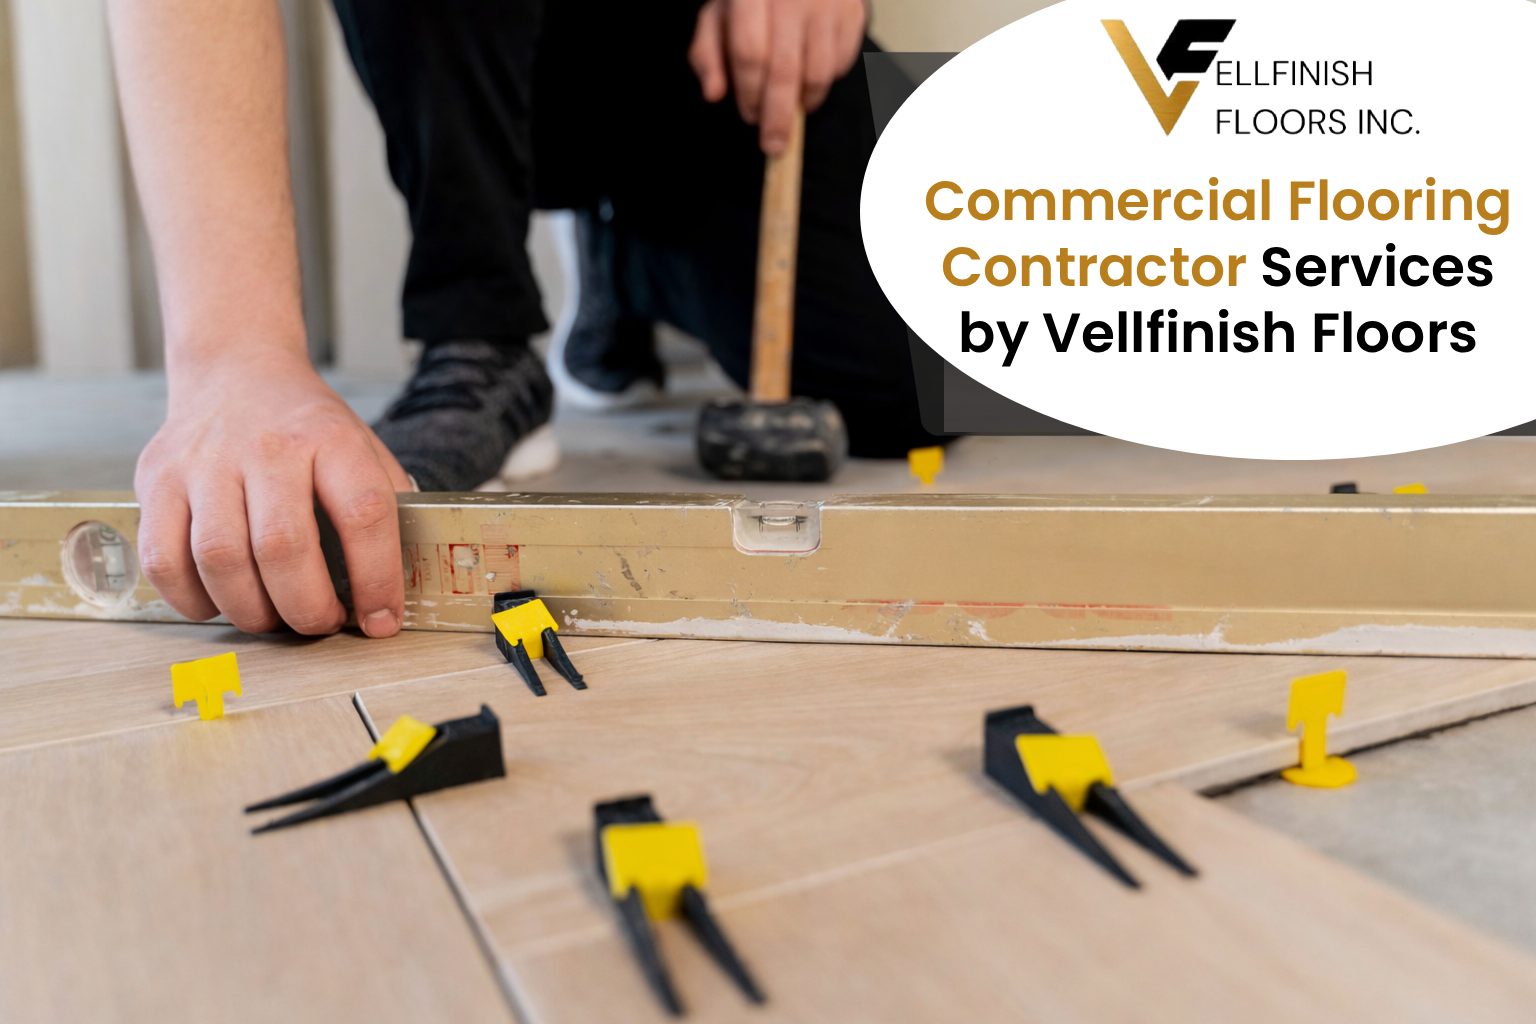

Engineered hardwood flooring installation methods
Engineered hardwood flooring has end up a famous preference amongst owners and contractors alike, way to its sturdiness, aesthetic appeal, and versatile installation techniques. Whether or now not you’re upgrading your modern-day floors or embarking on a new domestic maintenance undertaking, information the notable engineered hardwood flooring installation strategies is essential for prolonged-lasting typical performance and splendor.
On this comprehensive guide, we’ll stroll you thru the pinnacle installation techniques, factors to keep in mind earlier than set up, and which technique can also paintings best to your space.
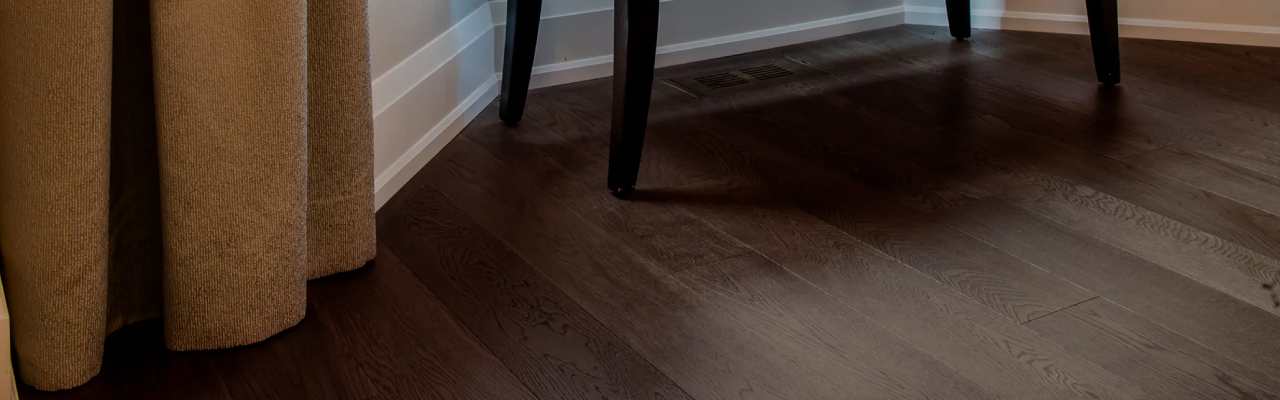
What is Engineered Hardwood flooring?
Engineered hardwood includes a top layer of real hardwood veneer and a couple of layers of plywood or high-density fiberboard (HDF) below. This layered introduction makes it extra strong than stable hardwood, particularly in regions with fluctuating humidity like basements or kitchens.
No longer like solid hardwood, engineered flooring gives greater flexibility as regards to set up. Counting on the product and subfloor, you can pick out out from numerous set up techniques—each with its private advantages.
1. Floating installation (click on-Lock machine)
What it is:
Floating installation is one of the maximum DIY-exceptional and famous strategies. The planks are not glued or nailed to the subfloor. As an opportunity, they “go together with the flow” over it and interlock with a tongue-and-groove or click on on-lock gadget.
Key benefits:
- Short and smooth set up
- Ideal for uneven subfloors
- Appropriate for over present floors (like tile or vinyl)
- Permits growth and contraction
First-rate For:
- DIYers
- Condos or condo gadgets
- Areas with mild to slight traffic
Seasoned Tip:
Constantly use a satisfactory underlayment for added comfort, noise bargain, and moisture safety.
2. Glue-Down set up
What it’s far:
In this technique, a robust adhesive is unfold without delay onto the subfloor, and the engineered wood planks are laid on pinnacle. The glue bonds the planks to the ground, making the floor more strong and comfy.
Key benefits:
Strong enjoy underfoot
Amazing sound insulation
Much less motion or transferring over the years
Great For:
- Concrete subfloors
- Regions with radiant heating
- High-site visitors zones
Pro Tip:
Ensure the subfloor is level and smooth before making use of adhesive. The use of a moisture barrier is recommended even as installing over concrete.
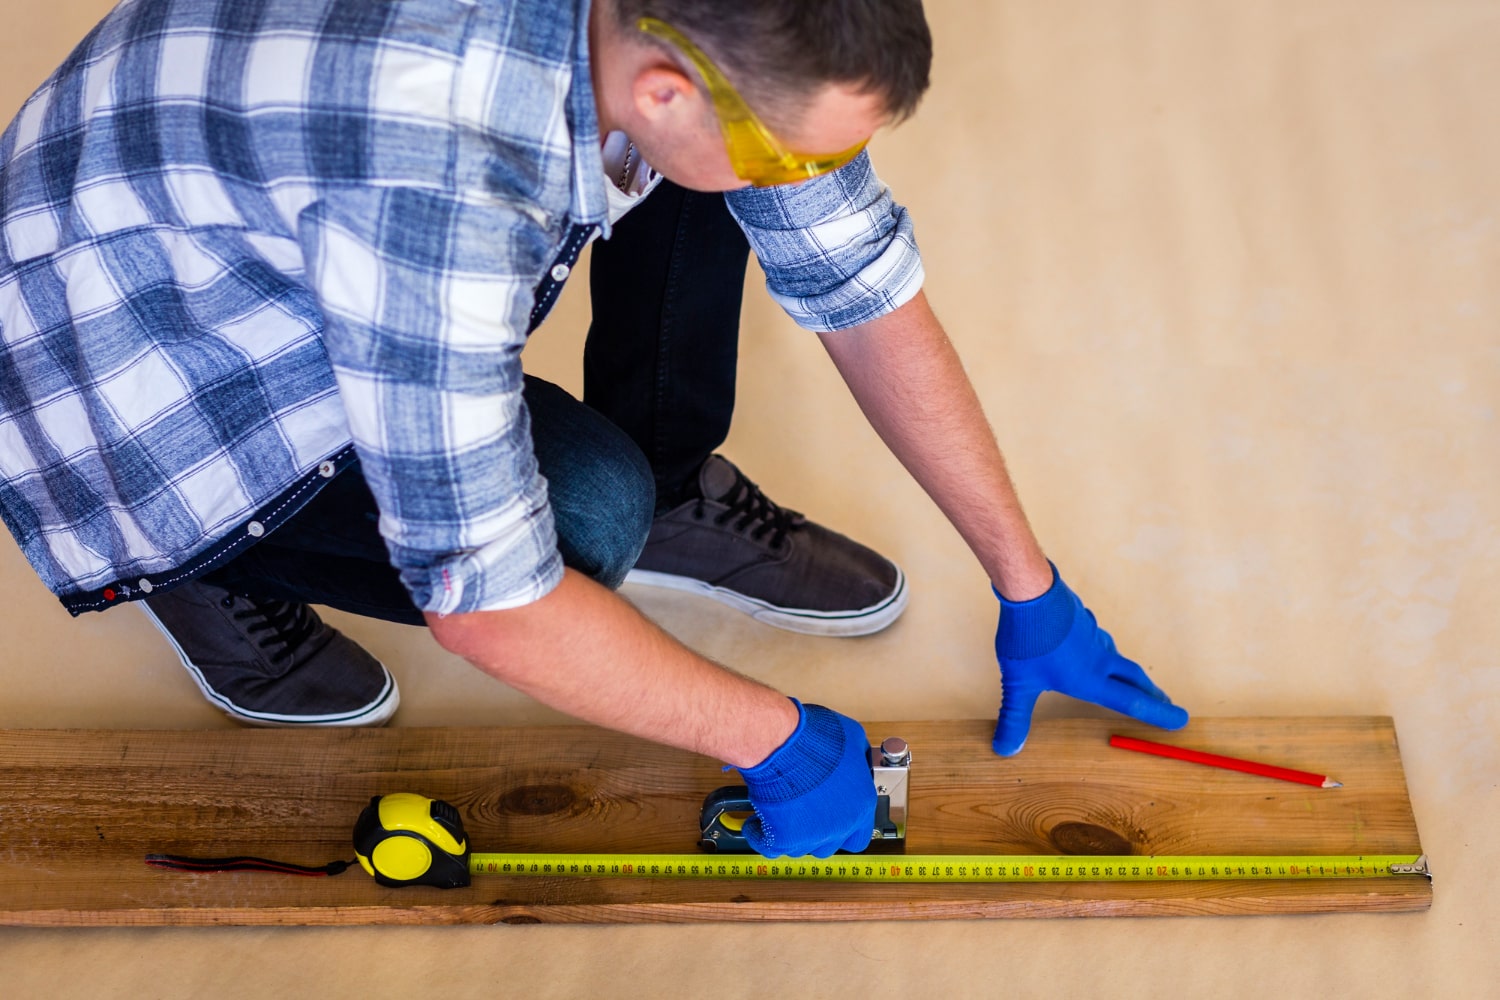
3. Nail-Down set up
What it is:
Nail-down set up entails fastening the planks to a wood subfloor using nails or staples. This approach is just like how conventional solid hardwood is set up.
Key blessings:
- Strong and relaxed attachment
- Conventional hardwood sense
- No need for adhesives
Great For:
- Plywood or OSB subfloors
- Permanent installations
- Top stages of a domestic
Pro Tip:
Keep away from using this approach on concrete slabs or in beneath-grade rooms, as moisture may additionally compromise the nails or staples over time.
Four. Staple-Down set up
What it’s miles:
Very just like nail-down, but makes use of staples instead of nails to fasten the floors. The approach is faster and frequently taken into consideration less complicated than nailing.
Key advantages:
- Quicker than nailing
- True for engineered flooring with thinner profiles
- Robust bond with timber subfloors
Incredible For:
- Wood subfloors
- DIYers with flooring nailer/stapler device
Pro Tip:
Spacing and alignment are key. Misaligned staples can reason uneven planks or creaking noises.
5. Dual Glue + Nail method
What it is:
For closing balance, mainly in industrial areas or wide planks, some specialists use each glue and nails. The glue affords added maintain at the equal time because the nails relaxed the planks in vicinity.
Key benefits:
- Most stability
- Extraordinary for wider boards which can shift
- Reduces possibilities of creaking or movement
Splendid For:
- Big plank engineered hardwood
- High-website online traffic areas
- Commercial installations
Pro Tip:
This method is first-rate left to expert installers due to the extent of precision and hard work required.
Elements to bear in mind earlier than selecting a manner
Earlier than you decide to a particular set up method, bear in thoughts the following elements:
Subfloor type: Concrete, plywood, and tile each help one-of-a-kind strategies.
Room vicinity: Basements can also moreover require floating or glue-down; upper tiers may choose nail-down.
Moisture level: Rooms with excessive humidity want moisture-resistant strategies like floating or glue-down with limitations.
DIY vs professional: some techniques are greater DIY-friendly, even as others require expert tools and experience.
Finances: charges vary relying at the set up type and prep art work required.
End
Engineered hardwood floors is one of the maximum adaptable flooring alternatives available in recent times. Whether you choose a floating, glue-down, nail-down, or a hybrid method, there’s a method that suits your unique venture needs. Every set up technique has its advantages, and information them allows ensure your flooring look lovely and perform well for destiny years.
If you’re uncertain which method to select, are searching for recommendation from a professional flooring installer who can inspect your area and endorse the super alternative based absolutely on your subfloor, way of lifestyles, and lengthy-term goals.