

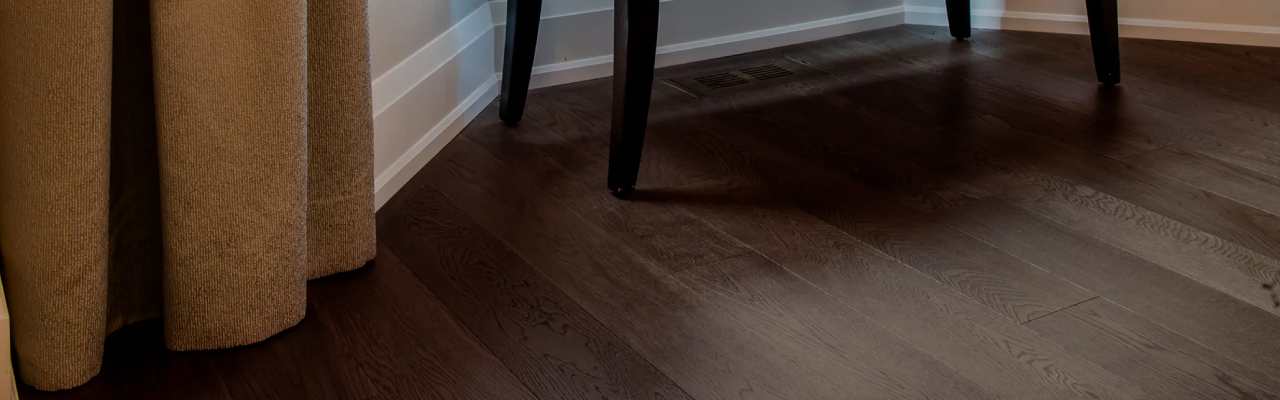
Installation Instructions for Engineered Luxury Vinyl Flooring

ELVF is one of the flexible, durable, and aesthetically pleasing options for flooring. It combines the beauty of hardwood with the durability of vinyl. Proper installation will ensure long-lasting performance and enhance the beauty of your space. Here is a instructions for installing Engineered Luxury Vinyl Flooring effectively.
Tools and Materials Needed
Tools and materials should be gathered beforehand:
Tools:
- Tape measure
- Utility knife
- Rubber mallet
- Tapping block
- Spacers
- Level
- Chalk line
- Straight edge
- Circular saw or jigsaw
- Pry bar
- Vacuum or broom
Materials:
- Luxury engineered vinyl planks
- Underlayment (when required)
- Adhesive (whenever applicable)
- Transition strips
- Molding and baseboards
Preparation
Proper preparation will ensure easy installation with little to no issues down the road.
1. Acclimation of Flooring
Install the ELVF planks in the installation area for at least 48 hours to acclimate to the room’s temperature and humidity. This process denies the possibility of expansion or shrinkage after the installment.
2. Preparing the Subfloor
- Subfloor Cleaning: Dust, debris, and existing flooring materials are removed.
- Level the Subfloor: Level the subfloor for low spots. Apportion leveling compound and sand high places.
- Dry: Ensure the subfloor is dry; otherwise, there is a chance of mold or failure of adhesives.
3. Check Room Conditions
- Room temperature should be between 65°F and 85°F.
- Relative humidity levels between 30% and 50%.
Installation Techniques
There are three common installation methods for ELVF: floating, glue-down, and click-lock. This guide focuses on the click-lock system, as it’s the most popular for DIY installations.
Step-by-Step Installation Guide
1. Plan the Layout
- Measure the Room: Determine the room’s dimensions to calculate how many planks you’ll need. Add 10% to account for cuts and waste.
- Find a straight wall to begin from. Use a chalk line to get a straight start.
- Ensure end joints do not align in two adjacent rows when laying plank planks. Stagger should be at least 6 inches.
2. Apply Underlayment (if necessary)
If your ELVF does not have an underlayment that is already attached, unroll the underlayment over the subfloor. Ensure edges do not overlap but are taped together.
3. Install
Step 1: Insert Spacers
Install spacers along the beginning wall, leaving a ¼-inch expansion gap. That is the space that will allow for expanding and contracting with temperature changes.
Step 2: Install the First Row
- Begin on the left side of the room.
- Install the first plank with its tongue side facing the wall.
- Attach the next plank by aligning its tongue with the groove of the first plank and tapping it into place using a tapping block and rubber mallet.
Step 3: Cut Planks as Needed
- Use a tape measure and straight edge to mark where cuts are needed.
- Cut planks to size using a utility knife, circular saw, or jigsaw.
- Place cut edges against the wall.
Step 4: Continuing Subsequent Rows
- Starting a new row begins with a plank that is 6 inches longer or shorter than the plank at the head of the first row in order to stagger the seams.
- The tongue of the plank needs to be aligned with the groove of the plank in the row it is over at an angle then pressed down and locked in position.
- This pattern repeats for all other planks tight seams
Step 5 Fit around Obstacles
- Trace the shape of doorways, pipes, or other obstacles onto the plank using a template or ruler.
- Cut the plank to fit snugly around the obstacle.
4. Completion of Installation
Step 1: Removal of Spacers
Remove spacers along the walls after installing all planks.
Step 2: Installation of Transition Strips
- Install transition strips between ELVF and other flooring types for a seamless look.
- Secure the strips with adhesive or screws, as appropriate.
Step 3: Attaching Moldings and Baseboards
- Put back or install new moldings and baseboards to cover the expansion gap.
- Use finishing nails or adhesive for secure attachment.
Step 4: Clean the Floor
- Sweep or vacuum the floor to remove any debris.
- Use a damp mop and manufacturer-recommended cleaner to finish.
Tips for Success
- Double-Check Measurements: Measure twice and cut once to avoid mistakes.
- Use Proper Tools: Ensure you’re using tools in good condition for clean cuts and efficient installation.
- Work Slowly: Work slow enough to have a tight fit and perfect seam set.
- Follow the Manufacturer’s Specifications: Pay attention to specific guidelines outlined by the manufacturer of the floor.
Common Errors to Avoid
- Not Preparing Subfloor: Irregular or dirtied subfloors may contribute to an unprofessional installation of the floor.
- Failure to Install Expansion Gap: Expansion gap is what can save your floor from buckling after a given period of installation.
- Wrong staggering: This also makes your floor weak, and the pattern looks untidy too.
- Rushing: Speeded up installations are a recipe for mistakes and wasted space.
Maintenance Tips
To keep your ELVF looking beautiful and functioning for years to come:
- Clean regularly: Sweep or vacuum to get rid of dirt buildup.
- Avoid Excessive Water: Clean with a damp mop rather than soaking the floor.
- Protect against Scratches: Use felt pads under furniture legs and avoid moving heavy objects.
- Control Humidity: Maintain indoor humidity levels to avoid flooring issues.
Conclusion
Installing Engineered Luxury Vinyl Flooring is a rewarding project that enhances the aesthetic and functionality of your space. With proper preparation, the right tools, and attention to detail, you can achieve a professional finish. Remember to follow the manufacturer’s instructions and maintain your flooring regularly to ensure its longevity. Whether you’re a DIY enthusiast or a seasoned professional, ELVF offers a perfect balance of style, durability, and ease of maintenance.