

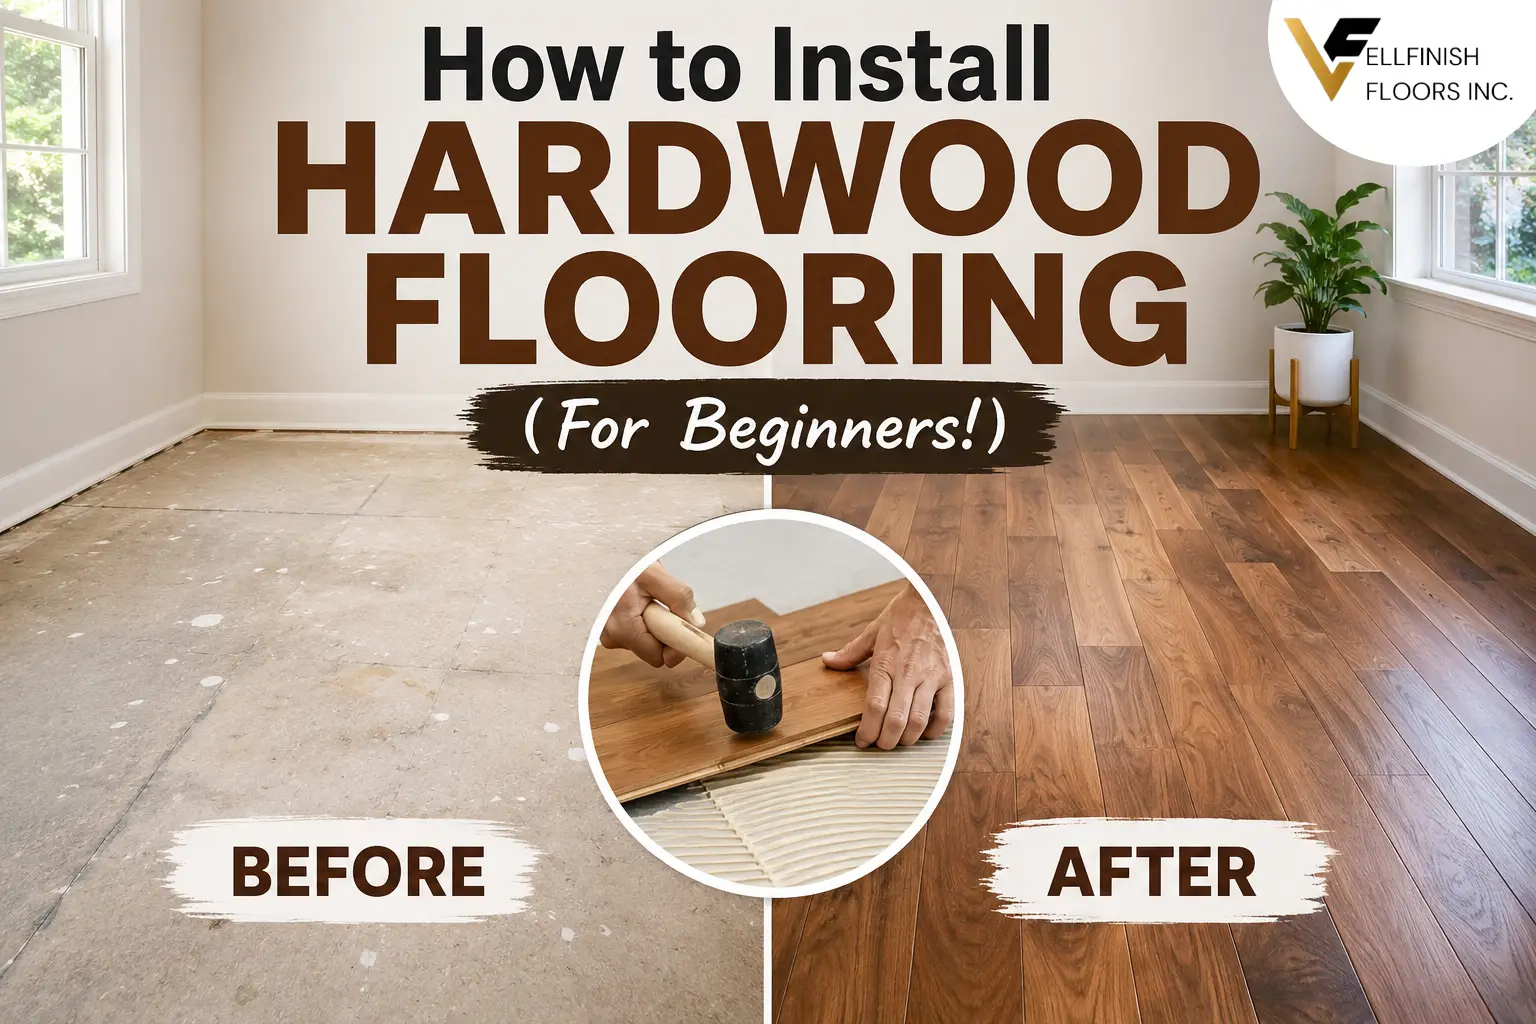
How to Install Hardwood Flooring (For Beginners!)

Hardwood flooring can completely change the look and feel of a room. It brings warmth, character, and a timeless finish that works with almost any interior style. The good news is that you do not always need to be an experienced contractor to understand how hardwood flooring is installed. With the right preparation, tools, materials, and patience, a confident DIY homeowner can handle many hardwood flooring projects.
That said, hardwood is not something you want to rush. A small mistake during preparation can lead to gaps, squeaks, uneven boards, or problems with the floor later. Taking your time before installation is just as important as the installation itself.
This beginner-friendly guide explains the basic process of installing hardwood flooring, from preparing the room to placing the final boards.
1. Choose the Right Hardwood Flooring
Before picking up a hammer or nailer, decide what type of hardwood flooring is right for your space.
Solid hardwood is made from a single piece of natural wood. It can usually be sanded and refinished several times, making it a long-term flooring choice. Engineered hardwood has a real wood surface bonded to multiple layers of wood-based material. Its construction makes it more dimensionally stable and suitable for areas where solid hardwood may not be the best option.
Think about the room, subfloor, moisture conditions, installation method, and your budget before purchasing flooring.
Also remember to buy extra material. Cutting boards, working around corners, and removing boards with defects can increase your material requirements. Having approximately 5% to 10% extra flooring is a common starting point, although complicated layouts may require more.
2. Gather Your Tools and Materials
Having everything ready before installation makes the job considerably easier.
Depending on the hardwood and installation method, you may need:
- Hardwood flooring
- Underlayment or moisture barrier, when required
- Tape measure
- Chalk line
- Pencil
- Carpenter’s square
- Spacers
- Pry bar
- Hammer
- Flooring nailer or stapler
- Drill
- Circular saw or miter saw
- Jigsaw
- Safety glasses
- Hearing protection
- Work gloves
- Utility knife
- Construction adhesive, where specified
- Transition pieces and trim
Always check the flooring manufacturer’s installation instructions. The recommended tools and installation method can vary between products.
3. Prepare the Room
Good hardwood installation starts with a clean, stable workspace.
Remove furniture, rugs, baseboards, and existing flooring as necessary. Inspect the entire subfloor for damage, loose areas, protruding nails, moisture problems, or significant unevenness.
The subfloor needs to be clean, dry, and structurally sound.
If you find damaged sections, repair them before installing the hardwood. Loose areas should be secured so they do not move and create squeaks underneath the finished floor.
Pay particular attention to moisture. Excess moisture can cause hardwood to expand, contract, cup, or develop other problems. If there is any concern about moisture coming from the basement, crawl space, concrete slab, plumbing, or another source, resolve it before installation.
4. Let the Flooring Acclimate
One of the most important steps beginners sometimes overlook is acclimation.
Wood naturally responds to changes in temperature and humidity. Bringing flooring into a completely different environment and installing it immediately can create problems if the material needs time to adjust.
Follow the manufacturer’s instructions for acclimation because the required time and conditions can differ depending on the product.
Keep the flooring in the installation environment under the recommended conditions. Do not simply assume that leaving unopened boxes in the room for a certain number of days is always sufficient.
The goal is to install the flooring when the wood is appropriate for the conditions inside the home.
5. Plan Your Layout
Before installing the first board, decide how the flooring will run through the room.
In many rooms, hardwood is installed parallel to the longest wall because it can make the space appear longer. However, the direction can also depend on the home’s layout, adjoining rooms, natural light, and the location of the floor joists.
Measure the room and look at the width of the final row. You generally do not want to end up with an extremely narrow strip of flooring along one wall.
If necessary, adjust your starting layout so the boards on opposite sides of the room have a more balanced appearance.
Use a chalk line to establish a straight reference line. Do not assume that the wall itself is perfectly straight.
6. Leave the Required Expansion Gap
Wood expands and contracts naturally as humidity changes.
For that reason, hardwood flooring normally needs an expansion space around the perimeter of the room, including near walls, cabinets, door frames, and other fixed objects.
The exact expansion gap should come from the flooring manufacturer’s instructions.
Spacers can help maintain a consistent gap while you work. The space will eventually be hidden by baseboards, shoe molding, or other appropriate trim.
Never remove the required expansion space simply because you want the flooring to reach the wall.
7. Install the First Rows Carefully
The first few rows are extremely important because they establish the direction for the rest of the floor.
Position the first boards according to your layout and manufacturer’s instructions. Make sure they are straight and maintain the required expansion space.
Depending on the product, hardwood may be installed by nailing, stapling, gluing, floating, or using a combination of approved methods.
For nail-down installations, a flooring nailer or stapler is generally used after the first boards are positioned. The fastening pattern should follow the flooring manufacturer’s recommendations.
Take extra time with the first rows. If they are crooked, that problem can continue across the entire room.
8. Stagger the Board Joints
Avoid lining up the end joints of boards in neighboring rows.
Instead, stagger the joints to create a more natural appearance and maintain the stability of the installation.
Use the manufacturer’s recommended minimum spacing between end joints. Do not create a repetitive staircase pattern where every joint moves by roughly the same amount.
Mix different board lengths when appropriate. Natural hardwood can contain variations in grain, colour, knots, and character, so spreading boards thoughtfully can create a more attractive finished floor.
9. Continue Across the Room
Once the first rows are secure, installation becomes more repetitive.
Continue adding boards row by row. Check the floor regularly to make sure the boards remain properly aligned and that joints are fitting together correctly.
Do not force a damaged or badly fitting board into place. It is usually better to replace a questionable piece than to hide a problem underneath the finished floor.
Watch for transitions around doorways, closets, hallways, vents, and irregular walls. Measure twice before making cuts.
When cutting boards, always consider which side of the board will remain visible. Mark your cuts carefully and use appropriate safety equipment.
10. Installing the Final Rows
The final rows can be more challenging because there may not be enough room to use a standard flooring nailer or stapler.
Depending on the installation system, boards may need to be cut lengthwise and installed using an appropriate method recommended by the manufacturer.
Measure carefully because walls are rarely perfectly straight.
Continue maintaining the required expansion space along the wall.
Do not hammer directly against the tongue of a hardwood board unless the installation instructions specifically allow it. Use the appropriate tapping block or installation tool to prevent damaging the flooring.
11. Finish Around Doors and Trim
Doorways require careful attention because flooring often needs to pass underneath or meet door casings.
A clean approach is to undercut the bottom of the casing when appropriate so the flooring can slide underneath it. This can create a much more professional appearance than making complicated cuts around the trim.
Transitions may also be required where hardwood meets tile, carpet, vinyl, or another flooring material.
Install transition pieces according to their intended use and the flooring manufacturer’s recommendations.
12. Reinstall the Baseboards
Once the hardwood flooring is installed, remove the spacers and reinstall your baseboards or install new trim.
Baseboards should cover the required expansion space without restricting the floor’s ability to move.
Avoid fastening trim directly through the hardwood floor in a way that prevents normal seasonal movement.
Fill visible nail holes in the trim, touch up the finish if needed, and clean the floor according to the manufacturer’s care instructions.
Common Hardwood Flooring Mistakes to Avoid
DIY flooring mistakes are often caused by rushing rather than a lack of skill.
Here are some of the most common problems beginners should avoid:
Skipping subfloor preparation: An uneven or damaged subfloor can create problems that remain visible after installation.
Ignoring moisture: Moisture is one of the biggest concerns with wood flooring. Deal with moisture issues before installation.
Installing immediately without following acclimation instructions: Wood needs to be installed under the conditions recommended by the manufacturer.
Failing to leave expansion space: Hardwood needs room to respond to changes in humidity.
Starting with a crooked row: The first rows determine the alignment of the rest of the floor.
Using the wrong installation method: Not every hardwood product can be nailed, glued, floated, or stapled.
Forcing damaged boards into place: A poor board can affect the appearance of the finished floor.
Poor planning around doorways: Door frames and transitions should be considered before installation begins.
How Long Does Hardwood Flooring Installation Take?
The installation time depends on the room size, flooring type, installation method, subfloor condition, and experience level.
A small, straightforward room may be manageable over a weekend for an experienced DIYer. Larger homes or complicated layouts can take considerably longer.
Preparation can also take more time than expected. Removing old flooring, repairing the subfloor, moving furniture, trimming doors, and preparing transitions all add to the project.
If you are installing hardwood throughout several rooms, professional installation can save considerable time and help ensure consistent results.
When Should You Hire a Professional?
Installing hardwood flooring yourself can be rewarding, but it is not the right project for everyone.
Consider professional installation if the subfloor has significant problems, moisture is present, the room has a complicated layout, the flooring is expensive, or you simply want a guaranteed professional finish.
Professional flooring installers have experience dealing with uneven walls, transitions, stairs, tight spaces, board selection, and difficult cuts. They can also identify potential installation problems before those issues become expensive repairs.
Final Thoughts
Learning how to install hardwood flooring is much easier when you break the project into manageable steps. Choose the right flooring, prepare the subfloor properly, follow acclimation requirements, plan the layout, maintain the required expansion space, and install each row carefully.
The most important beginner tip is simple: do not rush the preparation.
A beautiful hardwood floor is not created by installing boards as quickly as possible. It comes from careful measurements, a properly prepared subfloor, accurate cuts, correct installation techniques, and attention to the manufacturer’s instructions.
If you are unsure about the condition of your subfloor or the correct installation method for your particular hardwood product, getting advice from an experienced flooring professional can prevent costly mistakes.
With proper planning and patience, hardwood flooring can provide a durable, attractive surface that adds warmth and character to your home for many years.