

Long Beach Terminal Vinyl Flooring Installation Guide

Long Beach Terminal Vinyl Flooring is quality, durable, and stylish flooring that is perfectly suitable for both residential and commercial purposes. This guide will take you through the entire installation process, from preparation to finishing touches, ensuring a seamless and professional result.
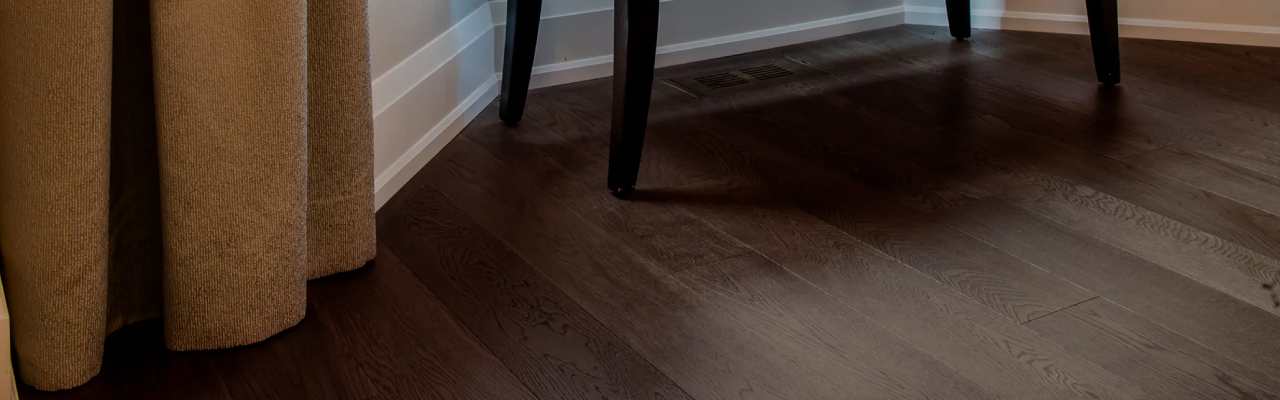
1. Understanding Long Beach Terminal Vinyl Flooring
Long Beach Terminal Vinyl Flooring is highly reputed for its resistance to water, scratches, and ease of maintenance. Be it a glue-down or click-lock version, proper installation techniques are always vital for longevity and performance.
Key Features:
- 100% waterproof
- High durability and wear resistance
- Easy maintenance and cleaning
- Available in a variety of colors and textures
- Suitable for high-traffic areas
2. Tools & Materials Needed
Before commencing the installation, ensure you have the following tools and materials ready:
- Tape measure
- Utility knife
- Level
- Chalk line
- Spacers
- Rubber mallet
- Tapping block
- Pry bar
- Underlayment (where necessary)
- Adhesive (glue-down application)
- Trowel for application of glue
- Roller to press the planks
3. Subfloor Preparation
Preparation of a subfloor in the right way ensures a seamless and long-lasting installation.
Requirements of Sub-Floor:
- Be clean, dry, and level
- No cracks or uneven surfaces
- Remove old flooring if it is necessary
- Concrete sub-floors have to be cured and completely dried
- Apply leveling compound if there are defects that need fixing
Moisture Testing:
If over concrete, perform a moisture test to ensure moisture is within manufacturer recommendations.
4. Acclimating the Flooring
Before installation begins, acclimate the vinyl plank flooring to room temperature at least 24-48 hours prior to actual installation to avoid possible expansion or contraction after installation.
Steps:
- Place the flooring boxes in the installation area.
- Keep the temperature between 65-85°F (18-29°C).
- Do not set boxes next to direct heat sources or cold areas.
5. Planning the Layout
- A well-planned layout will optimize the final appearance and minimize waste.
- Measure the room and draw a centerline.
- Plan the direction of the planks, usually in the direction of the longest wall.
- Dry-fit a few rows to see what the layout will look like; this also minimizes small planks at the walls.
- Leave 1/4 inch expansion gap around perimeter.
6. Installation Methods
A. Click-Lock Installation
- Start in the corner of the room by placing spacers against the walls.
- Lay the first plank with the tongue to the wall.
- Click the second plank angled slightly, into position and press down.
- Continue row by row, tapping the joints into place with a tapping block and rubber mallet.
- Stagger seams at least 6 inches apart for natural look.
B. Glue-Down Installation
- Apply adhesive with trowel in small sections.
- Place planks into adhesive and press firmly.
- Use a roller to ensure good adhesion and eliminate air pockets.
- Do not walk on the floor until the adhesive has cured according to the manufacturer’s recommendations.
7. Cutting & Fitting Planks
- Score and snap planks with utility knife and straight edge.
- For intricate cuts, use a jigsaw or handsaw.
- Measure carefully around doorways and vents, making clean cuts.
8. Finishing Touches
- Remove spacers and install baseboards or quarter-round moldings.
- Use transition strips where the vinyl meets other types of flooring.
- Clean the floor with a damp mop to take away dust or other materials.
- Avoid using heavy furniture on it for at least 24 hours after the installation.
9. Maintenance & Care Tips
- Sweep or vacuum frequently for dust and dirt.
- Mop with a little water and mild cleaner, avoiding harsh chemicals.
- Put pads on the feet of furniture so that scratches could be avoided.
- Wipe spills right away to avoid stains.
10. Troubleshooting Common Issues
- Gaps Between Planks: The subfloor has to be level, and the planks have to be clicked into place appropriately.
- Peaking or Buckling: Look out for expansion gaps and avoid overexposure to moisture.
- Irregular Appearance: Check for evenness in the subfloor, and make sure a roller is used properly during glue-down installations.
Conclusion
Long Beach Terminal Vinyl Flooring installation is relatively easy if the proper steps are followed. With proper preparation, precise installation, and regular maintenance, your vinyl flooring will be a source of beauty and durability for years to come. From residential to commercial high-traffic applications, this flooring is a great option for one seeking a stylish yet resilient surface.