
Installation Guide: Stair Railing

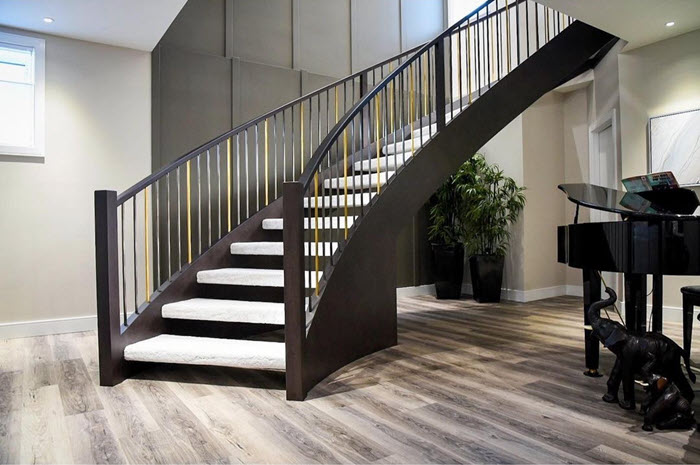
Installing a stair railing is one of the biggest safety upgrades you can get for a staircase — both indoors and outdoors. Beyond safety, a properly installed stair railing is not only aesthetically pleasing, but it also increases value and gives a property a sleek finish. A DIY enthusiast or someone simply wanting to learn more about the process prior to hiring a contractor, this comprehensive installation guide will cover everything you would ever want to know about stair railing installation.
Why Stair Railings are Important
Before we jump into the steps to install, take a moment to understand why stair railings are so crucial:
- Safety: They keep people from falling and support them.
- Code Compliance: Nearly all building codes mandate stair railings for safety.
- Aesthetic Appeal: An attractive railing can give your staircase a complete face-lift.
- Property Value: Houses with freshly updated, secure railings sell quicker and at a higher price.
Materials and Tools You Will Need
Materials:
- Railing (wood, metal, glass, or composite)
- Balusters (vertical posts)
- Newel posts (primary posts at bottom and top)
- Rail brackets
- Fasteners (screws, anchors, bolts)
- Adhesive (for added strength)
Tools:
- Drill and drill bits
- Screwdriver
- Measuring tape
- Level
- Miter saw or circular saw
- Hammer
- Wood glue
- Pencil
- Safety equipment (gloves, goggles)
Based on the material you’re working with (wood vs. metal vs. glass), the toolkit may be different slightly.
Pre-Installation: Planning and Preparation
1. Check Local Building Codes
Always begin by inspecting your local building codes. They will state:
- Height of the handrail (typically 34 to 38 inches)
- Baluster spacing (typically no closer than 4 inches apart)
- Rail strength and load demands
Adhering to these regulations not only makes your installation safe but also legally acceptable.
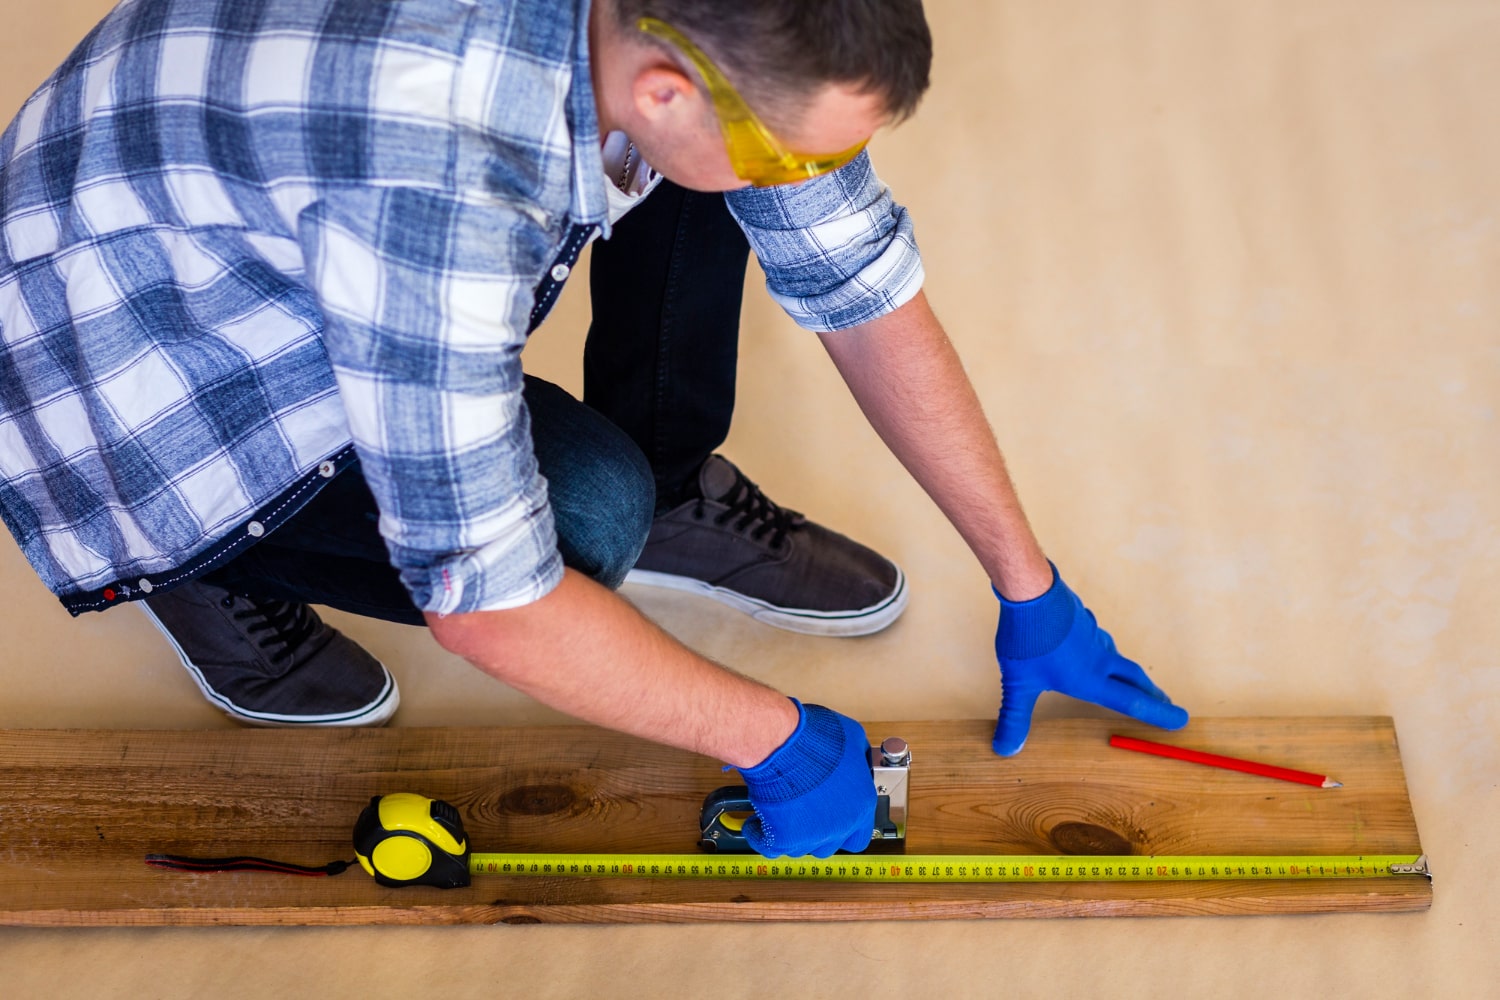
2. Measure Accurately
- Measure the total rise (height) and total run (length) of your staircase.
- Calculate the angle (use a basic angle finder tool if needed).
- Measure for the quantity of balusters needed: A general guideline is one baluster per 4 to 6 inches.
3. Select the Appropriate Railing System
Traditional Wooden Railings: Timeless and cozy, suitable for most houses.
- Metal Railings: Modern and sleek, extremely long-lasting.
- Glass Railings: Ideal for open, modern spaces.
- Cable Railings: Simple and ideal for outdoor use.
Step-By-Step Installation Process
Step 1: Install Newel Posts
The newel posts are the starting point of your stair railing system.
How to Install:
- Mark the post locations at the top and bottom of the stairs.
- Use lag bolts to secure the posts firmly into the floor or stair framing.
- Check for plumb (vertical straightness) with a level before tightening.
- Pro Tip: Add construction adhesive and blocking if necessary for added stability to the post.
Step 2: Cut the Handrail
The handrail must match the stair angle precisely.
How to Cut:
- Set the railing material on the stairs.
- Use a level to get it in place.
- Mark your cut lines exactly at the angle required.
- Make cuts using a miter saw.
Pro Tip: Always cut slightly longer than required and trim to fit perfectly.
Step 3: Install Handrail Brackets
Handrail brackets provide support for the railing against the wall or mounted directly to newel posts.
Installation:
- Mark locations of brackets along the wall or on the newel posts.
- Mount brackets with screws into studs or block.
- Space brackets no more than 4 feet apart for maximum strength.
Step 4: Install the Balusters
Balusters are placed between the railing and the stairs or stair treads.
How to Install:
- Mark the baluster positions evenly spaced as per code.
- Drill pilot holes into the stair tread or rail if needed.
- Mount each baluster with screws or a baluster connector system.
- Secure with adhesive for extra strength.
Pro Tip: Install balusters from the bottom step and move up.
Step 5: Install the Handrail
After balusters are in place, install the handrail to the brackets and newel posts.
Installation:
- Install the handrail on top of the balusters and newel posts.
- Screw the handrail to brackets and posts.
- Double-check that the railing is level (horizontal) and plumb (vertical).
Step 6: Finishing Touches
- Fill screw holes with wood filler if necessary (for wood railings).
- Sand the entire railing to remove any rough spots.
- Use paint, stain, or finish as desired.
- Test every aspect of the railing for stability and code suitability.
Special Notes on Various Materials
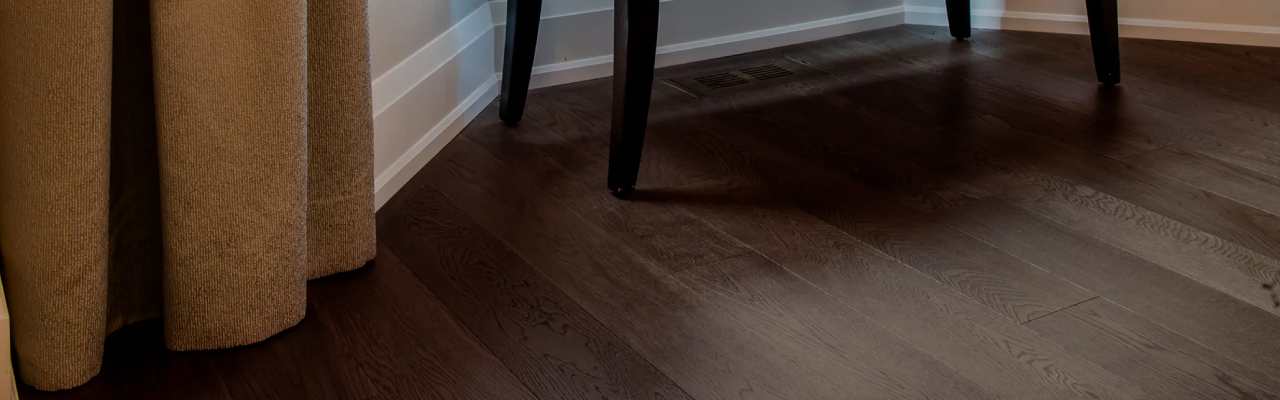
Wood Railings:
Flexible to work with but require sealing or staining to resist wear.
Metal Railings:
- Bulkier, frequently require welding or specialized brackets.
- Powder coating is wonderful for outdoor railings.
Glass Railings:
- Requires accurate measurements.
- Utilize specially designed clamps and anchors to hold glass panels in place.
Cable Railings:
- Proper tensioning of cables is important.
- Usually require special fittings for full strength.
Common Mistakes to Avoid
- Disregard for Building Codes: Always check and abide by code requirements.
- Poor Measurement: A half-inch error can ruin the entire installation.
- Flimsy Newel Posts: Without a firm base, your whole railing system will be loose.
- Inconsistent Baluster Spacing: Irregular balusters not only are unattractive but lead to safety issues.
- Overtightening Screws: Cracks wood or strips screws in metal installations.
- Missing Sealants and Finishes: Particularly for outdoor stair railings, sealing is required.
Maintenance Hints for Stair Railings
- To maximize the life and appearance of your stair railing:
- Regular Cleaning: Dust and clean railings every few weeks.
- Check Annually: Look for loose brackets, cracked wood, or rust.
- Repaint or Restain: Every few years for weathered wood or metal railings.
- Tighten Fasteners: Wood contracts and expands, so screws may become loose over time.
Conclusion
Installing a stair railing is a satisfying project that greatly increases the safety, usefulness, and look of your Installation Guide. With planning, good tools, and patience, you can accomplish a professional-quality finish that will last for years to come.
Remember: measure twice, cut once, and always adhere to your local building codes. Whether you’re doing it yourself or just want to better oversee your contractor, now you have the information and know-how to get it done correctly.